
How to Save Your Own Marigold Seeds
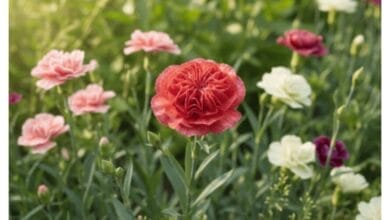
Marigolds are one of the easiest and most rewarding flowers to grow in a home garden. Known for their bright colors, pest-repelling properties, and long blooming season, marigolds are also perfect for beginner seed savers. Learning how to save your own marigold seeds not only saves money but also helps you grow healthier, more resilient plants year after year.
In this guide, you’ll learn when and how to harvest marigold seeds, how to dry and store them properly, and tips to ensure strong germination next season.
Table of Contents
Why Save Marigold Seeds?
Saving marigold seeds has several benefits:
- Cost-effective gardening – No need to buy new seeds every season
- Preserve favorite varieties – Especially heirloom or open-pollinated types
- Better adaptation – Seeds adapt to your local climate over time
- Sustainable practice – Reduces waste and reliance on commercial seeds
Marigolds are open-pollinated, meaning their seeds will grow true to type if planted near similar varieties.
Know Your Marigold Type

Before saving seeds, it helps to know what kind of marigold you’re growing:
- African Marigolds (Tagetes erecta) – Large, tall plants with big blooms
- French Marigolds (Tagetes patula) – Compact plants with smaller flowers
- Signet Marigolds (Tagetes tenuifolia) – Delicate, edible flowers
Seed-saving steps are the same for all marigold types.
Also Read: How to Grow, Harvest, and Enjoy Nasturtium Flowers
When Is the Right Time to Harvest Marigold Seeds?
Timing is crucial when saving marigold seeds. Seeds should be harvested only after the flower has completely dried on the plant.
Signs the Seeds Are Ready:
- Flower petals are brown, dry, and shriveled
- The flower head feels crispy to the touch
- No green color remains in the flower base
This usually happens late in the growing season, often in late summer or fall.
Step-by-Step: How to Save Your Own Marigold Seeds
Step 1: Choose the Best Flowers
Select healthy, vigorous plants with strong growth and abundant blooms. Avoid saving seeds from weak or diseased plants, as those traits can carry into the next generation.
Let several flowers remain on the plant instead of deadheading them.
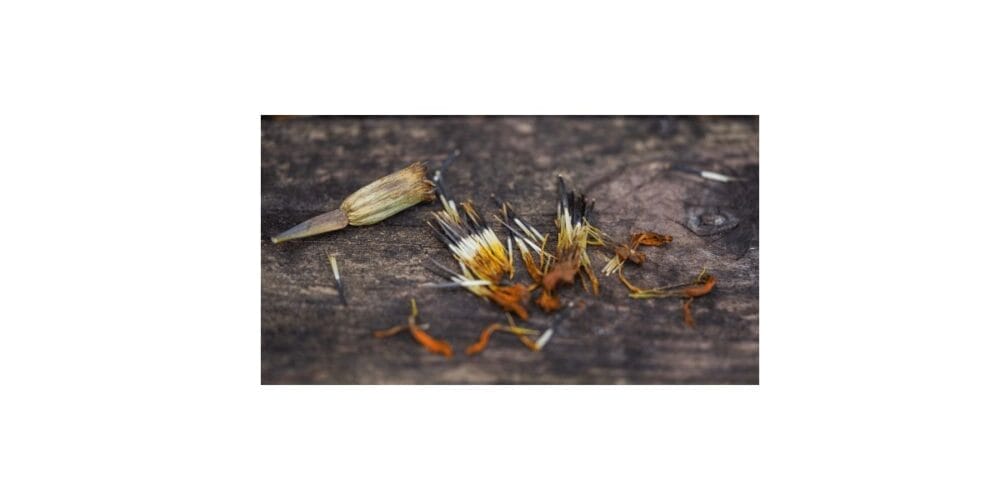
Step 2: Harvest the Dried Flower Heads
Using clean scissors or your fingers, gently remove the dried flower heads from the plant. Place them in a bowl or paper bag.
Avoid harvesting after rain or early morning dew, as moisture can lead to mold.
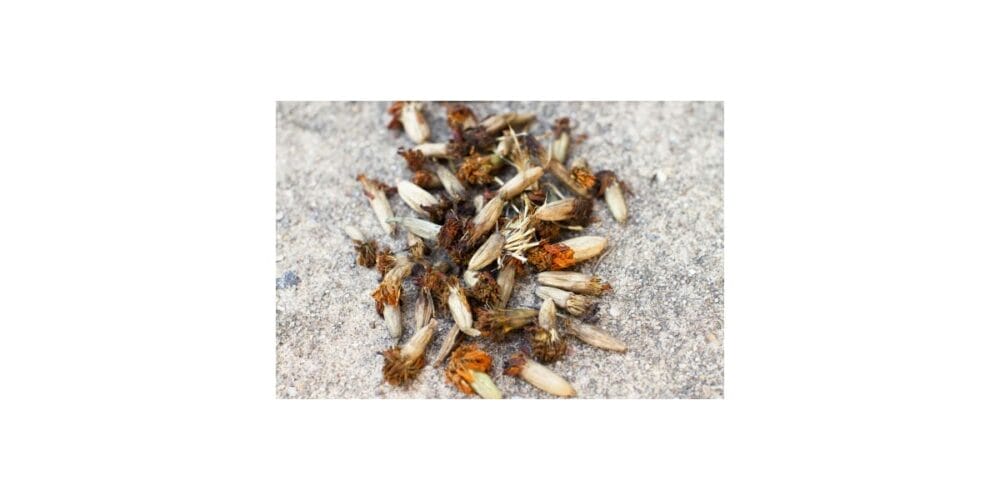
Step 3: Separate the Seeds
Marigold seeds are long, thin, and two-toned—black on one end and white or tan on the other.
To extract them:
- Hold the dried flower head
- Pull apart the base gently
- Shake or pull out the seeds from inside
Each flower can contain 20–50 seeds, making marigolds very generous seed producers.
Step 4: Dry the Seeds Properly
Even if the seeds seem dry, they need additional drying before storage.
- Spread seeds on a paper towel, newspaper, or plate
- Keep them in a warm, dry, well-ventilated area
- Let them dry for 7–10 days
- Stir occasionally to ensure even drying
Avoid using plastic or airtight containers during drying.
Also Read: 5 Benefits of Growing Calendula Flowers in Your Vegetable Garden
How to Store Marigold Seeds
Proper storage ensures high germination rates next season.
Best Storage Practices:
- Use paper envelopes, seed packets, or glass jars
- Label clearly with plant name and harvest date
- Store in a cool, dark, dry place
Ideal storage locations include:
- A drawer
- A cupboard
- A sealed jar in the refrigerator (optional)
Stored correctly, marigold seeds remain viable for 2–3 years.
Tips for Better Seed Viability
- Harvest seeds only from fully mature flowers
- Keep seeds completely dry before storage
- Avoid mixing varieties unless intentional
- Use silica gel packets for moisture control
If you grow multiple marigold varieties close together, expect some natural cross-pollination.
Also Read: Marigold Farming: A Complete Guide to Profitable Flower Cultivation
Common Mistakes to Avoid
Harvesting seeds too early
Storing seeds while still moist
Using plastic bags that trap moisture
Forgetting to label seed packets
These mistakes can lead to poor germination or moldy seeds.
How to Test Seed Germination
Before planting season:
- Place 5–10 seeds on a damp paper towel
- Fold and place inside a plastic bag
- Keep warm for 5–7 days
If most seeds sprout, your saved seeds are viable and ready to plant.
Final Thoughts
Saving your own marigold seeds is one of the easiest ways to become a more self-sufficient gardener. With minimal effort, you can enjoy vibrant marigold blooms year after year while preserving plants that thrive in your garden’s unique conditions.
Once you try seed saving with marigolds, you may find yourself collecting seeds from many other garden favorites as well. It’s a simple habit that brings long-term rewards and a deeper connection to your garden.
Happy seed saving and happy gardening!
Also Read: About How to Save Your Own Marigold Seeds on gardenary.com Site
-

-

-

-

-

-

-

-

-

-

-

-

-

-

-

-

-

-
-

-

-

-

-

-

-

-

-

-

-

-

-

-

-

-

-

-

-

-

-

-

-

-

-

-

-

-

-

-

-

-