Bayer Crop Science, a division of Bayer AG, is a global leader in agricultural innovation, offering a wide range of crop protection products, including herbicides, fungicides, insecticides, and seed treatments. In
In this article, we cover the Bayer Pesticide Product List for 2025, which may be helpful to all farmers searching for and relying on Bayer’s products.
These products are designed to help farmers combat weeds, pests, and diseases while promoting sustainable agriculture. In 2025, Bayer continues to expand its portfolio with cutting-edge solutions tailored to diverse crops and regional needs.
Categories of Bayer Pesticide Products:
Bayer’s pesticide offerings fall into several key categories:


- Herbicides – Control unwanted weeds.
- Fungicides – Protect crops from fungal infections.
- Insecticides – Target harmful insects.
- Seed Treatments – Shield seeds and seedlings from early threats.
- Nematicides – Suppress nematodes and soil-borne diseases.
Below, all products are listed in each category.
Herbicides:
Herbicide was the first product listed under the Bayer Pesticide Product List in 2025. Most people say that the “seed” is the first product that every farmer uses to start the cultivation. However, in plant [protection point of views, the herbicide is the first products that farmers are brought before onset of the cultivation. After starting the cultivation, the herbicide is rarely needed. Only selective herbicides are sometimes bought by farmers during crop cultivation.
1. RT 3 Herbicide
A high-concentration glyphosate-based herbicide, RT 3, offers up to 50% more active ingredient than generic alternatives. It’s effective against tough weeds like Russian thistle and kochia.
2. Harness Herbicide
Known for its consistent performance and flexibility in application, Harness is widely used in rotational cropping systems.
3. TripleFLEX II Herbicide
Provides broad-spectrum weed control with multiple sites of action, ensuring excellent crop safety and application flexibility.
4. Nortron SC Herbicide
Specialised for sugar beets, onions, and carrots, Nortron SC offers selective weed control and is approved in specific U.S. states.
5. Atlantis
Effective against phalaris minor and broadleaf weeds in wheat, Atlantis provides long-lasting control during early growth stages.
Fungicides:
Fungicide is the second that comes in the Bayer Pesticide Product List. Fungicide is one of the main plant protection products, which farmers regularly apply throughout the entire cultivation process.
6. Propulse Fungicide
A new chemistry fungicide that combats white mould and other key diseases. It enhances plant health and supports resistance management.
7. Velum One
A soil-applied fungicide and nematicide offering broad-spectrum protection against soil-borne pathogens.
8. Delaro 325 SC
Combines dual modes of action for superior residual efficacy and improved plant health.
9. Aliette
A systemic fungicide that rapidly absorbs into plants, combating downy mildew and damping-off diseases in crops like grapes and tomatoes.
10. Folicur
Offers preventive and curative action against blast, sheath blight, and powdery mildew. It also improves crop quality.
Insecticides:
Although insecticides rank third in the Bayer Pesticide Product List, farmers are frequently involved throughout the entire crop cycle. Insecticides are more expensive than other products in the Bayer Pesticide Product List.
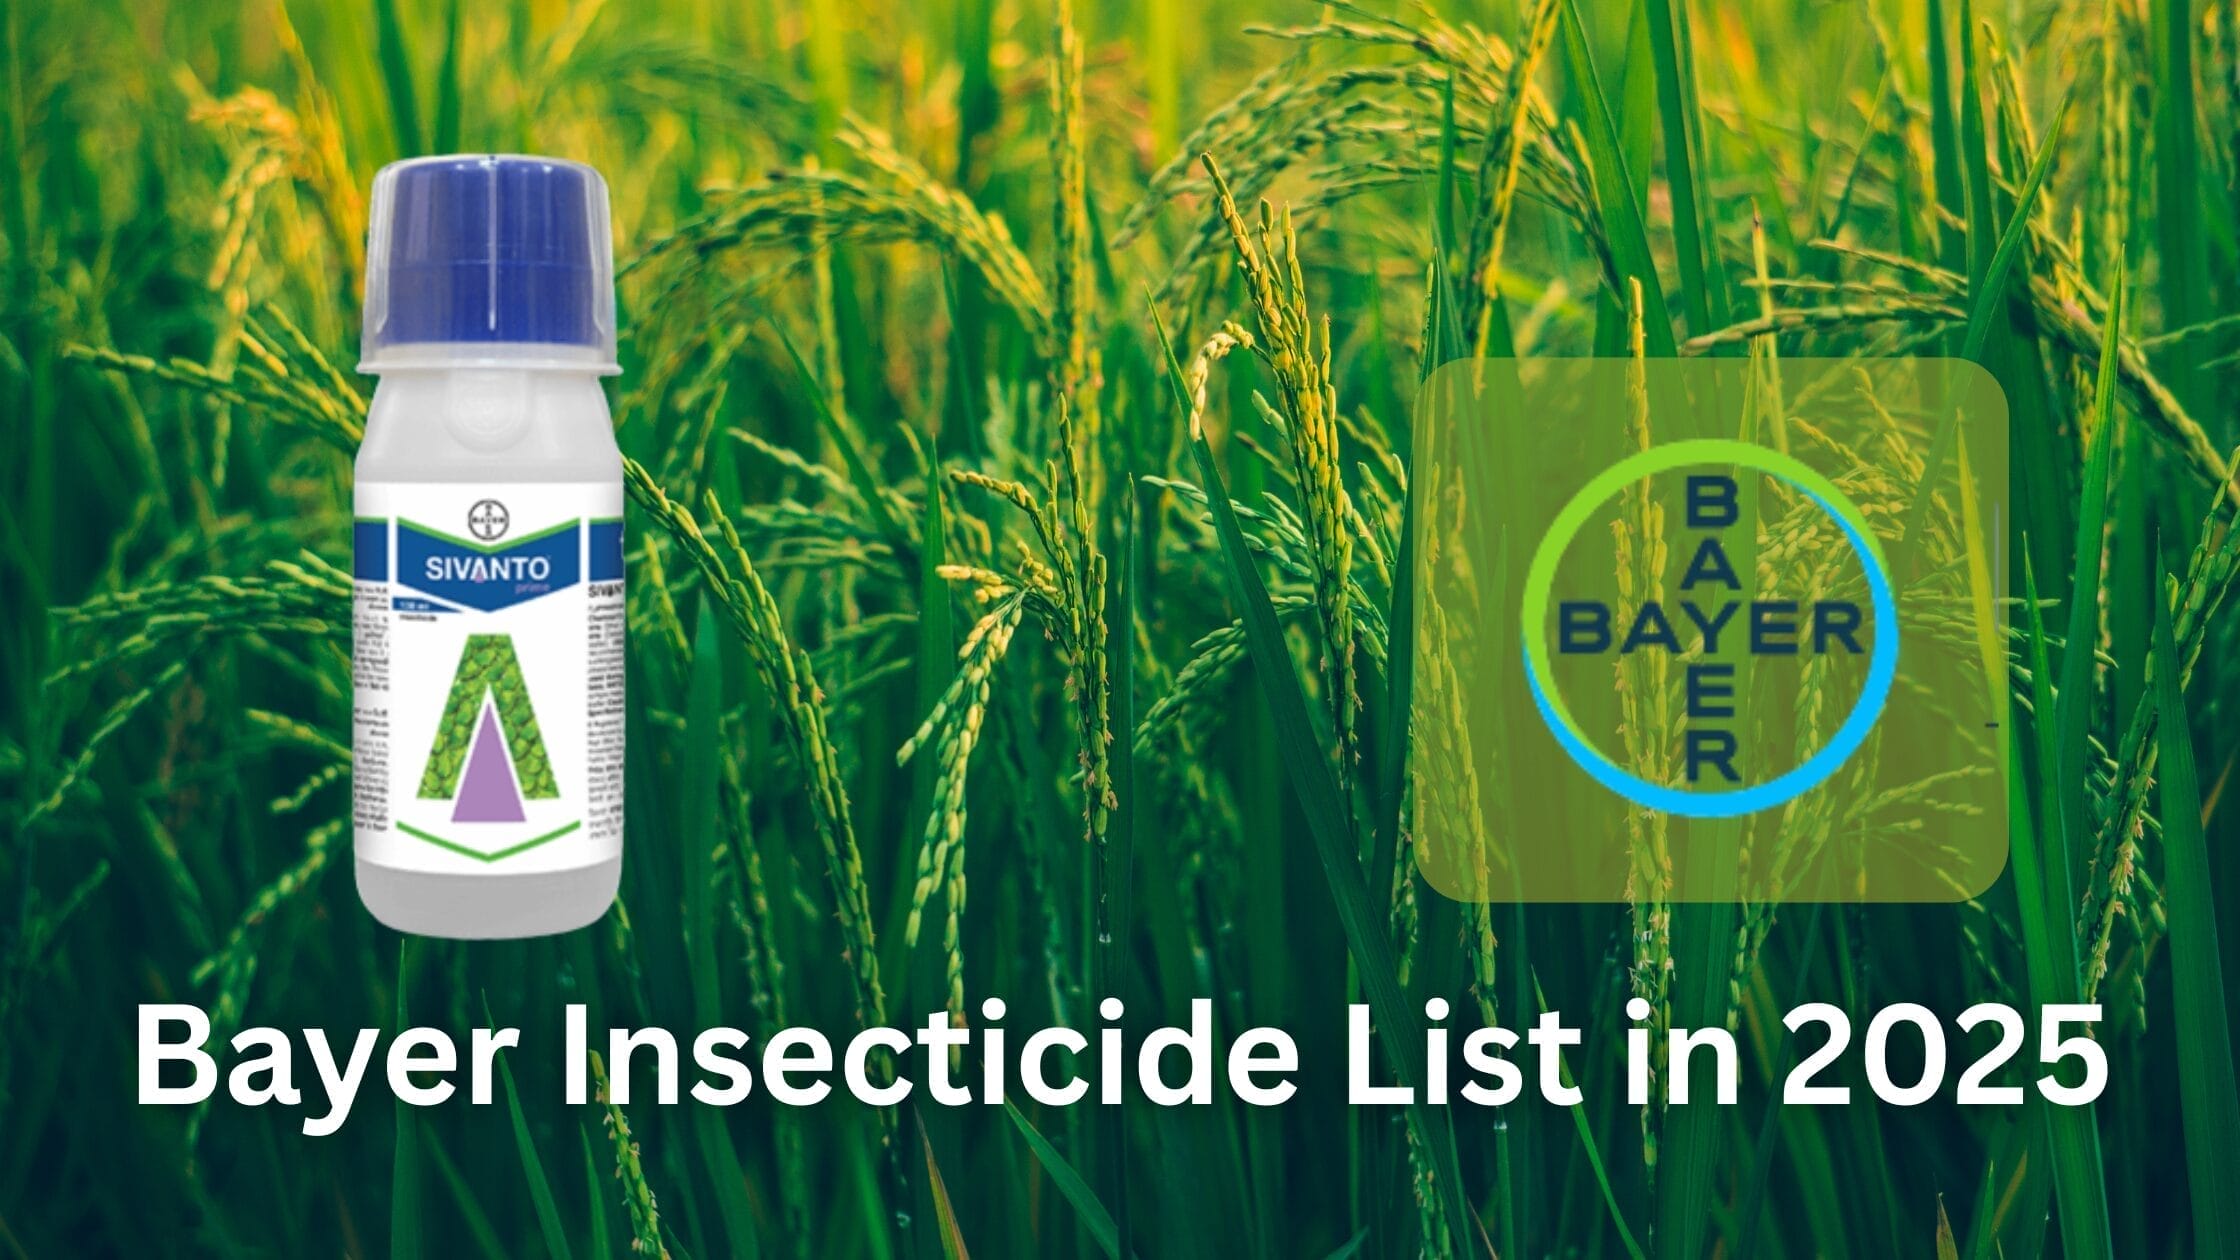
11. Sivanto Prime
Targets damaging pests while preserving beneficial insects. It supports flexible application methods and overall plant health.
12. Admire
A systemic insecticide effective against sucking pests like aphids and whiteflies. It’s used in crops such as cotton, rice, and tomatoes.
13. Alanto
Controls a wide range of sucking and chewing pests in crops like brinjal, tea, and soybean. It has no cross-resistance with conventional chemicals.
14. Confidor & Confidor® Super
These imidacloprid-based insecticides offer long-lasting protection at low doses. Confidor Super has enhanced active ingredients for broader pest control.
15. Decis® 100 & Decis® 2.8
It contains deltamethrin, a synthetic pyrethroid effective against borers and sucking pests. They are widely used in cotton, tea, and vegetables.
Seed Treatments:
16. Raxil PRO Shield
Provides early-season protection for cereal seeds against seedling diseases and pests. It promotes stronger stands and higher yield potential.
17. Gaucho
A user-friendly seed treatment that protects crops from early-season sucking pests. It’s cost-effective due to its long persistence.
18. EverGol Xtend
Controls a broad spectrum of seed and seedling diseases, ensuring better yield and quality.
Nematicides:
19. Velum Rise
Combines fungicidal and nematicidal properties to suppress Rhizoctonia and promote root health throughout the season.
Speciality Products:
20. Ethrel
Used to improve fruit colouration and induce flowering in crops like mango and pineapple. It also aids in uniform ripening.
21. Emesto Prime
Protects potatoes from black scurf and enhances crop vitality for better yields.
22. Fame
Contains flubendiamide, effective against chewing pests like bollworms and leaf folders. It works at low doses and disrupts muscle function in pests.
Regional and Crop-Specific Solutions
Bayer’s product catalogue is tailored to regional agricultural needs. For example:
- Council Activ – Designed for wet direct-seeded rice (DSR), offering season-long weed control.
- Curbix Pro – Combines ethiprole and pymetrozine to protect paddy crops from hoppers.
- Buonos – A broad-spectrum fungicide used in crops like wheat, tomatoes, and grapes.
Innovation and Sustainability
Bayer’s commitment to innovation is evident in its R&D efforts, which integrate data science, AI, and predictive analytics. The company aims to reduce the environmental impact of crop protection products while maintaining efficacy and safety.
Their approach includes:
- Profile-based molecule design
- Biologicals and biopesticides
- Open innovation and partnerships
- Digital farming technologies
Conclusion
Bayer’s pesticide product list in 2025 reflects its dedication to sustainable agriculture, innovation, and farmer-centric solutions. With a diverse portfolio spanning herbicides, fungicides, insecticides, and seed treatments, Bayer empowers growers to protect their crops effectively while meeting environmental and societal expectations.
Bayer Pesticides Products List Review
Product Cost
Compatibility
Availability
Aggregate Customer Score
Overall Rating: Excellent


