
How to Save Dill Seeds from Your Kitchen Garden
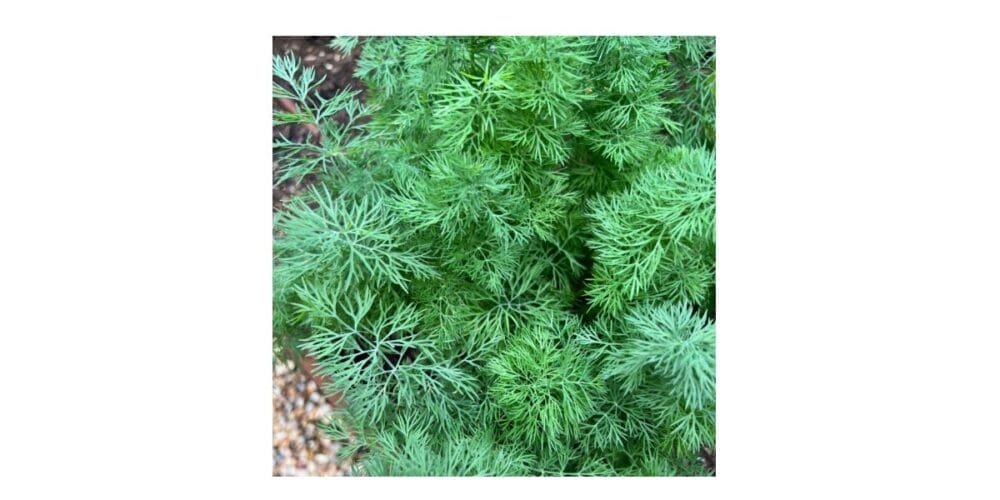
Saving your own dill seeds is one of the easiest and most rewarding gardening skills you can learn. Dill (Anethum graveolens) is a fast-growing, aromatic herb that readily produces abundant seeds, making it ideal for beginner seed savers. Whether you grow dill for cooking, pickling, or pollinators, learning how to save dill seeds helps you become more self-sufficient while preserving plants that are well-adapted to your garden.
In this guide, we’ll walk you through simple, step-by-step instructions to save dill seeds successfully from your kitchen garden.
Table of Contents
Why Save Dill Seeds?
Before diving into the process, let’s understand why saving dill seeds is worth your time.
- Cost-effective: No need to buy seeds every season.
- Reliable germination: Home-saved dill seeds are often fresher than store-bought ones.
- Adapted plants: Seeds collected from your garden adapt better to your local climate.
- Easy for beginners: Dill self-pollinates and produces seeds generously.
- Continuous supply: Always have seeds ready for the next planting season.
Step 1: Allow Dill Plants to Flower and Mature
To save dill seeds, you must let the plant complete its natural life cycle.
What to Do:
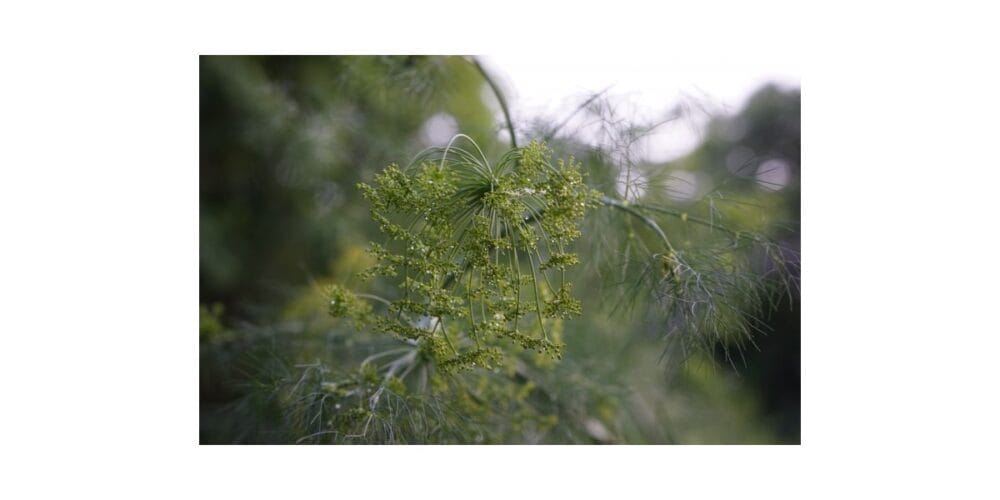
- Stop harvesting dill leaves once the plant begins to flower.
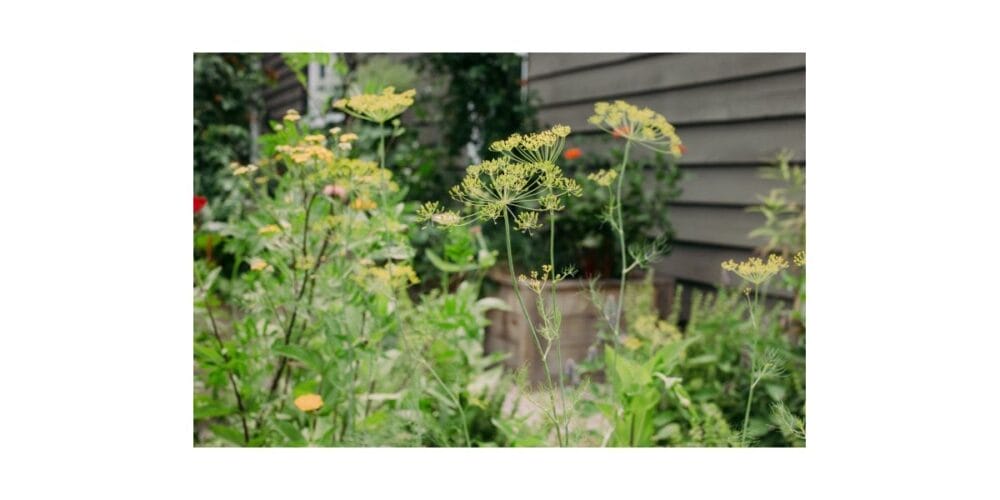
- Dill will produce tall stems topped with umbrella-shaped yellow flower clusters, known as umbels.
- After flowering, seeds begin forming where flowers once bloomed.
Signs Seeds Are Ready:
- Flower heads turn brown and dry
- Seeds change from green to light brown or tan
- Seed heads become brittle and start to drop seeds easily
This stage usually occurs 90–120 days after planting, depending on growing conditions.
Also Read: How to Make Mint Tea from Your Organic Herb Garden
Step 2: Harvest the Dill Seed Heads
Timing is crucial when harvesting dill seeds. Harvest too early and seeds won’t be viable; wait too long and they’ll scatter on their own.
Best Time to Harvest:
- Choose a dry, sunny morning
- Harvest when most seed heads have turned brown but haven’t fully shattered
How to Harvest:
- Use clean scissors or pruning shears.
- Cut the seed heads with 6–8 inches of stem attached.
- Place seed heads upside down into:
- Paper bags
- Cloth bags
- A large bowl
Avoid plastic bags—they trap moisture and can cause mold.
Step 3: Dry the Seeds Properly
Drying ensures your dill seeds store well and remain viable for future planting.
Drying Method:
- Tie seed heads in small bunches using twine.
- Hang them upside down in a warm, dry, well-ventilated area.
- Place a paper bag or tray underneath to catch falling seeds.
Drying Time:
- Allow seeds to dry for 1–2 weeks
- Seeds should feel hard and snap easily when pressed
Once dry, gently rub seed heads between your hands to release remaining seeds.
Also Read: The Best Way to Start a Victory Garden
Step 4: Clean and Separate the Seeds
After drying, you’ll need to remove chaff and debris.
Cleaning Tips:
- Use your fingers to separate seeds from stems
- Lightly blow away husks or plant debris
- A fine sieve can help remove unwanted material
Clean seeds store better and are less prone to mold or pests.
Step 5: Store Dill Seeds Correctly
Proper storage keeps your dill seeds viable for future seasons.
Storage Guidelines:
- Use paper envelopes, glass jars, or airtight containers
- Label with:
- Plant name
- Harvest date
- Store in a cool, dark, dry place
When stored correctly, dill seeds remain viable for 3–5 years.
Common Mistakes to Avoid
Even though saving dill seeds is easy, a few mistakes can reduce seed quality.
- Harvesting seeds too early
- Storing seeds before they are fully dry
- Using plastic containers
- Exposing seeds to heat or humidity
- Forgetting to label stored seeds
Avoiding these ensures strong germination next season.
Can You Use Saved Dill Seeds for Cooking?
Yes! Dill seeds you save can be used for both planting and cooking.
- Use them in pickles, spice blends, curries, and breads
- Ensure seeds are fully dry and clean before culinary use
If you plan to cook with them, store edible seeds separately from planting stock.
Also Read: How to Start an Herb Garden
When to Replant Saved Dill Seeds
- Sow dill seeds directly into soil during cool seasons
- Dill prefers full sun and well-draining soil
- Seeds typically germinate in 7–14 days
By planting your own saved seeds, you complete the natural gardening cycle.
Final Thoughts
Learning how to save dill seeds from your kitchen garden is a simple yet empowering step toward sustainable gardening. With minimal effort, you can harvest, dry, and store seeds that will provide fresh dill for years to come. Not only does seed saving save money, but it also connects you more deeply with your garden and the natural growing process.
Once you’ve mastered dill seed saving, you may find yourself inspired to save seeds from other herbs and vegetables as well. Happy gardening and seed saving!
Also Read: About How to Save Dill Seeds from Your Kitchen Garden on gardenary.com Site


