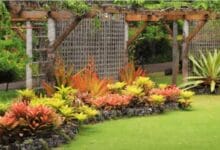
The Best Way to Start a Victory Garden
In uncertain times, growing your own food brings a sense of security, purpose, and pride. That’s exactly why Victory Gardens first became popular during World Wars I and II—and why they’re making a strong comeback today. Whether your goal is food independence, healthier eating, or simply reconnecting with nature, starting a Victory Garden is a powerful step. Here’s the best way to get started, even if you’re a complete beginner.
Table of Contents
What Is a Victory Garden?
A Victory Garden is a home garden focused on growing food crops to supplement household needs. Historically, these gardens helped ease pressure on food supply chains. Today, they represent self-reliance, sustainability, and resilience. Victory Gardens can be grown in backyards, balconies, rooftops, community plots, or even indoors.
Step 1: Choose the Right Location
Location is the foundation of a successful Victory Garden. Most vegetables need at least 6–8 hours of direct sunlight daily.
Key considerations:


- Sunlight: South- or west-facing areas work best.
- Water access: Choose a spot close to a tap or rainwater source.
- Drainage: Avoid low areas where water pools.
- Protection: Windbreaks or fencing can help protect tender plants.
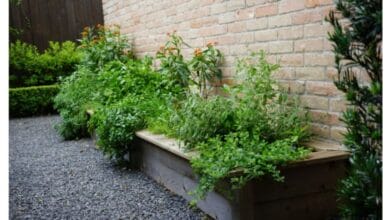
If space is limited, don’t worry—containers, grow bags, raised beds, and vertical gardens all work beautifully.
Step 2: Start Small and Plan Smart
One of the biggest mistakes beginners make is planting too much too soon. A Victory Garden should be productive, not overwhelming.
Start with:
- 5–7 easy crops
- A manageable garden size
- Plants your family actually eats
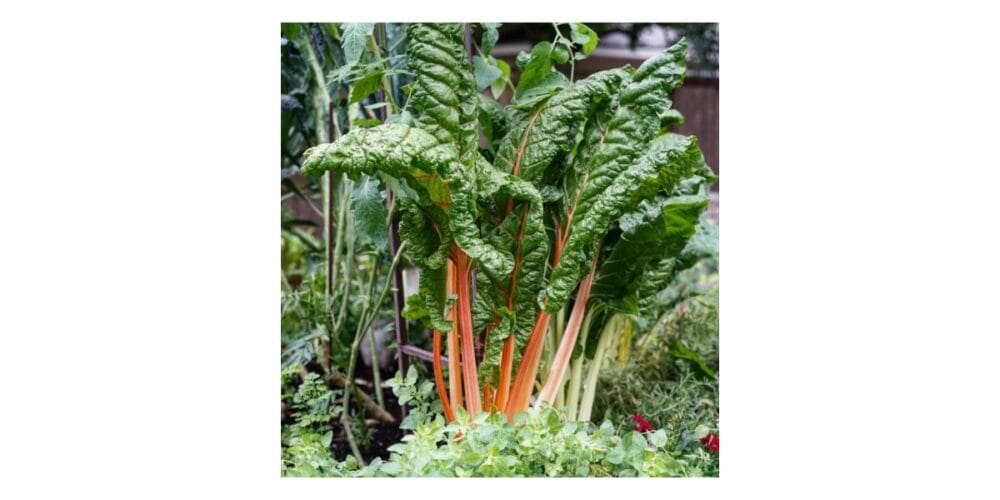
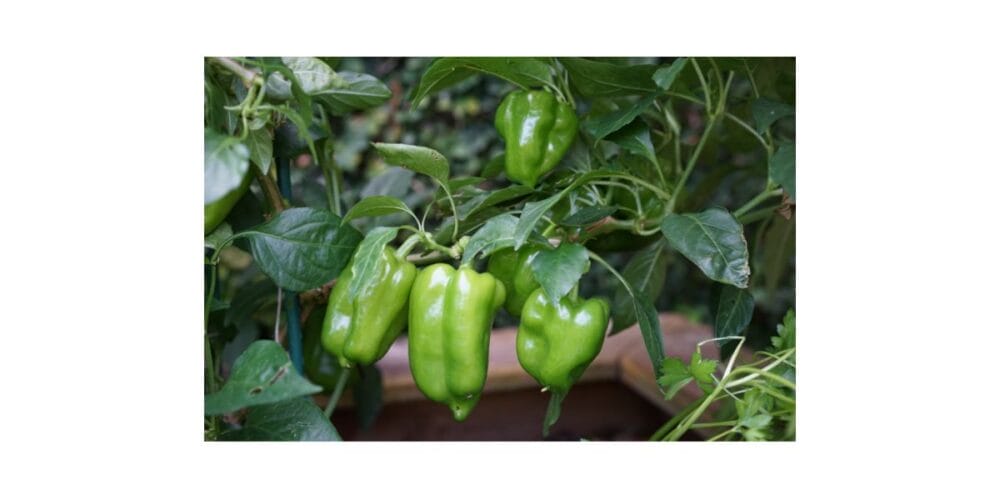
High-yield, beginner-friendly vegetables include:
- Tomatoes
- Leafy greens (spinach, lettuce, amaranth)
- Beans and peas
- Radishes
- Carrots
- Chillies or peppers
- Cucumbers
Sketch a simple layout to ensure proper spacing and airflow. This reduces pest problems and improves yields.
Also Read: Our Favourite Pink & Red Fruits & Veggies
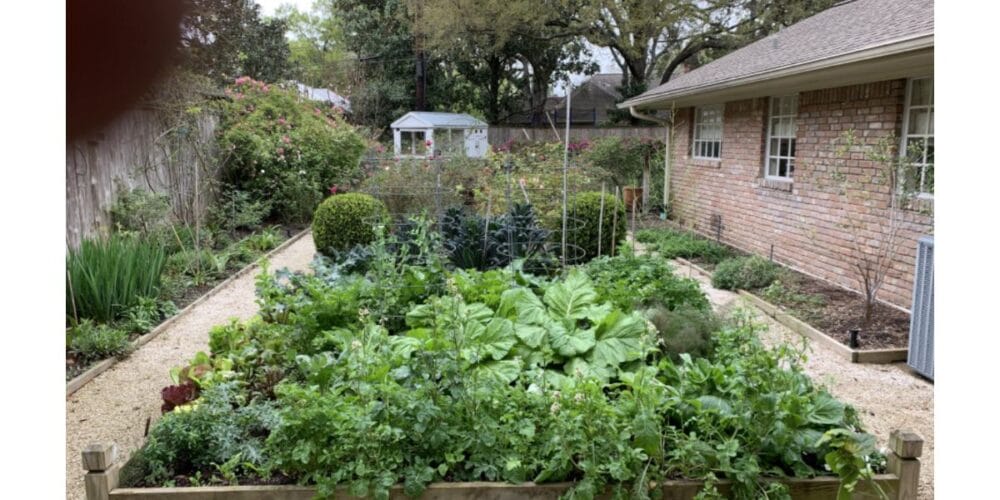
Step 3: Build Healthy Soil First
Healthy soil is the secret weapon of every successful Victory Garden. Instead of relying on chemical fertilizers, focus on building living, fertile soil.
Best soil mix for raised beds or containers:
- 40% garden soil
- 30% compost or well-rotted manure
- 20% coco peat or leaf mold
- 10% sand or perlite (for drainage)
Add homemade compost, vermicompost, or aged cow dung to enrich nutrients. Healthy soil means healthier plants and fewer pest issues.
Step 4: Choose Seeds Wisely
Select open-pollinated or heirloom seeds whenever possible. These varieties allow you to save seeds for the next season, increasing self-sufficiency.
Tips for seed success:
- Buy from reliable local sources
- Choose varieties suited to your climate
- Check germination dates
- Start with fresh seeds for best results
For faster results, you can also use healthy seedlings for crops like tomatoes, brinjal, or peppers.
Step 5: Follow Seasonal Planting
Victory Gardens thrive when crops are planted according to the season. Planting at the right time reduces disease, saves water, and boosts productivity.
General seasonal guide:
- Cool season: Leafy greens, peas, carrots, radishes
- Warm season: Tomatoes, cucumbers, beans, gourds
- Year-round (in many regions): Spinach, coriander, green onions
Always observe your local weather patterns and adjust planting schedules accordingly.
Step 6: Water Deeply and Consistently
Watering correctly is more important than watering often. Shallow watering leads to weak roots and stressed plants.
Best watering practices:
- Water early in the morning
- Water at the base, not on leaves
- Keep soil moist, not soggy
- Mulch to retain moisture and regulate temperature
Organic mulch like straw, dried leaves, or grass clippings also suppress weeds and improve soil health.
Also Read: Mango Diseases: Causes, Symptoms, and Effective Management Practices
Step 7: Use Natural Pest and Disease Control
A true Victory Garden works with nature, not against it. Avoid chemical pesticides that harm beneficial insects and soil microbes.
Natural pest control methods:
- Neem oil spray
- Garlic-chilli spray
- Hand-picking pests
- Companion planting (marigolds, basil, coriander)
- Encouraging birds and pollinators
Healthy soil and diverse planting naturally reduce pest outbreaks.
Step 8: Harvest Often and Use Everything
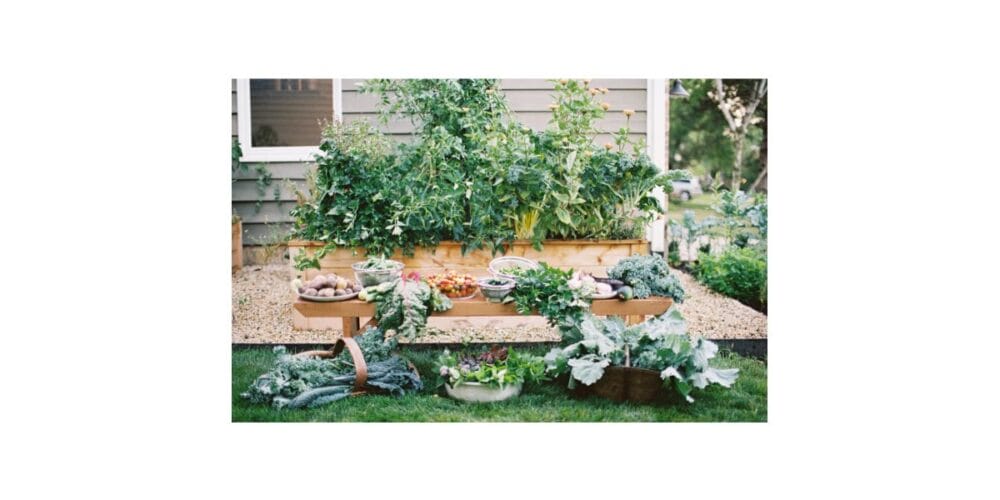
Regular harvesting encourages plants to produce more. Pick leafy greens early, harvest beans frequently, and remove overripe fruits.
Ways to maximize your harvest:
- Stagger planting every 2–3 weeks
- Preserve surplus through drying, pickling, or freezing
- Compost plant waste to feed the next crop cycle
A Victory Garden is about continuous production, not one-time harvests.
Also Read: Vermicompost Business Plan: A Profitable Organic Farming Opportunity
Step 9: Save Seeds for Future Seasons
Seed saving is the heart of self-reliance. Allow a few healthy plants to mature fully and collect seeds once dry.
Store seeds in:
- Paper envelopes
- Airtight containers
- Cool, dry places
Label everything clearly with crop name and season.
Final Thoughts: Victory Gardens Are About More Than Food
The best way to start a Victory Garden is with intention, patience, and consistency. It’s not about perfection—it’s about progress. Each seed planted is a step toward food security, environmental responsibility, and personal empowerment.
Whether you grow food in a backyard bed or a few containers on a balcony, your Victory Garden is a quiet but powerful act of independence. Start small, learn as you grow, and let your garden become your own modern-day victory.
Also Read: About the Best Way to Start a Victory Garden on the gardenary.com Site