3 Easy Steps to Plant Garlic in Your Garden
Garlic is one of the easiest and most rewarding crops you can grow at home. With minimal effort, a small patch of soil, and a little patience, you can enjoy a steady supply of fresh, flavorful garlic bulbs straight from your garden. Whether you’re a beginner or an experienced gardener, planting garlic doesn’t have to be complicated.
The secret to success lies in timing, soil preparation, and proper planting technique. Follow these three easy steps to plant garlic in your garden, and you’ll be on your way to harvesting plump, aromatic bulbs in just a few months.
Table of Contents
Why Grow Garlic at Home?
Before diving into the steps, it’s worth knowing why garlic deserves a place in your garden:
- Low maintenance and beginner-friendly
- Naturally pest-resistant
- Better flavor than store-bought garlic
- Long storage life after harvest
- Health benefits, including immune support and antioxidant properties
Garlic grows well in garden beds, raised beds, and even large containers, making it perfect for home gardens of any size.


Step 1: Choose the Right Garlic and Planting Time
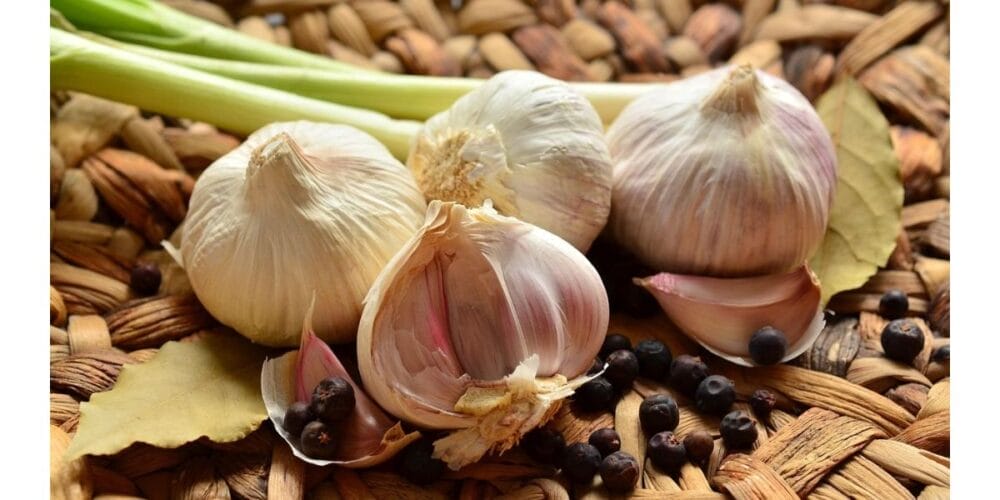
Select the Best Garlic Variety
Garlic comes in two main types:
- Hardneck garlic – Produces large cloves, bold flavor, and garlic scapes; ideal for cooler climates
- Softneck garlic – Smaller cloves but longer storage life; best for warmer regions
Always use seed garlic or organic garlic bulbs from a trusted source. Avoid grocery store garlic, as it’s often treated to prevent sprouting.
Know When to Plant Garlic
Timing is crucial for strong root development.
- Best planting time: Late fall, 4–6 weeks before the ground freezes
- In mild climates, garlic can also be planted in early winter
- Spring planting is possible, but fall-planted garlic produces larger bulbs
Garlic needs a period of cold (vernalization) to form proper bulbs, making fall planting the most reliable option.
Also Read: Ginger Farming: A Complete Guide for Profitable Cultivation
Step 2: Prepare the Soil for Healthy Growth
Choose the Right Location
Garlic thrives in:
- Full sun (at least 6–8 hours daily)
- Loose, well-draining soil
- Areas where water doesn’t pool
Avoid planting garlic where onions or other alliums were grown recently to reduce disease risk.
Improve Your Soil
Garlic is a heavy feeder, so nutrient-rich soil is essential.
- Loosen soil to a depth of 8–10 inches
- Mix in well-rotted compost or aged manure
- Aim for slightly acidic to neutral soil (pH 6.0–7.0)
Remove weeds and break up clumps to ensure good drainage. Healthy soil allows garlic roots to spread easily and absorb nutrients efficiently.
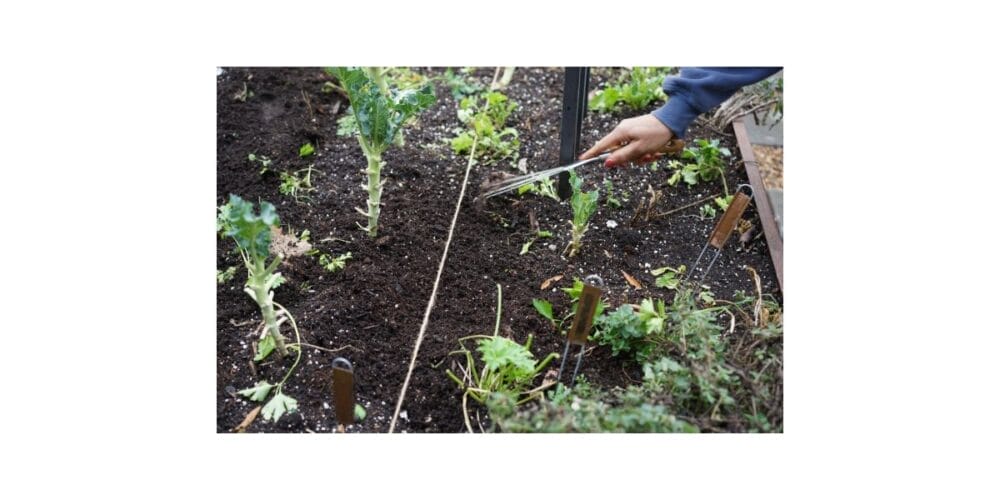
Step 3: Plant Garlic Cloves Correctly

Separate and Prepare the Cloves
- Gently break the garlic bulb into individual cloves
- Keep the papery skin intact
- Select the largest cloves for planting—bigger cloves mean bigger bulbs
Planting Technique
Follow these simple planting guidelines:
- Plant cloves pointed end up, root end down
- Space cloves 4–6 inches apart
- Plant cloves 2–4 inches deep
- Space rows 10–12 inches apart
Once planted, cover with soil and gently firm it down.
Mulch and Water
- Water thoroughly after planting
- Apply a 2–3 inch layer of mulch (straw, dried leaves, or grass clippings)
Mulch helps regulate soil temperature, retain moisture, and suppress weeds throughout winter and early spring.
Also Read: How to Grow Your Own Organic Onions
Caring for Garlic After Planting
Garlic requires very little attention once established:
- Water regularly in spring, keeping soil moist but not soggy
- Remove weeds to prevent competition
- Feed with compost or organic fertilizer in early spring
- Stop watering when leaves begin to yellow before harvest
Garlic plants will send up green shoots in early spring—this is a sign that your garlic is growing well.
When and How to Harvest Garlic

Garlic is usually ready to harvest in late spring or early summer.
- Harvest when the lower leaves turn brown but upper leaves are still green
- Gently loosen soil and lift bulbs—don’t pull by the stems
- Cure garlic in a dry, well-ventilated area for 2–3 weeks
Once cured, trim roots and store bulbs in a cool, dry place.
Also Read: Your Quick & Easy Guide to Growing Potatoes in Raised Beds
Common Garlic Planting Mistakes to Avoid
- Planting cloves upside down
- Using poor-draining soil
- Overwatering during bulb formation
- Planting too late in winter
- Using small or damaged cloves
Avoiding these mistakes ensures healthier plants and better yields.
Final Thoughts
Planting garlic doesn’t require fancy tools or advanced gardening skills. By following these 3 easy steps—choosing the right garlic, preparing nutrient-rich soil, and planting cloves properly—you can grow your own garlic with confidence.
Once you experience the taste of freshly harvested garlic from your garden, you’ll never want to go back to store-bought bulbs. Simple, satisfying, and incredibly rewarding, garlic is a must-have crop for every home gardener.
Happy planting and even happier harvesting!
Also Read: About 3 Easy Steps to Plant Garlic in Your Garden on gardenary.com Site