Your Step-by-Step Guide to Growing Sprouts at Home
Growing sprouts at home is one of the easiest and healthiest ways to add fresh nutrition to your daily meals. These tiny powerhouses are packed with vitamins, minerals, enzymes, and antioxidants—and the best part is that you don’t need soil, sunlight, or a garden to grow them. With just a few basic supplies and a little care, you can enjoy fresh, crunchy sprouts year-round right from your kitchen.
This step-by-step guide will walk you through everything you need to know about growing sprouts at home, from choosing seeds to harvesting and storing them safely.
Table of Contents
Why Grow Sprouts at Home?
Sprouts are young, germinated seeds that are harvested just a few days after sprouting. They are:
- Highly nutritious and easy to digest
- Ready to harvest in 3–7 days
- Affordable compared to store-bought sprouts
- Free from chemicals and preservatives
- Perfect for small kitchens and apartments
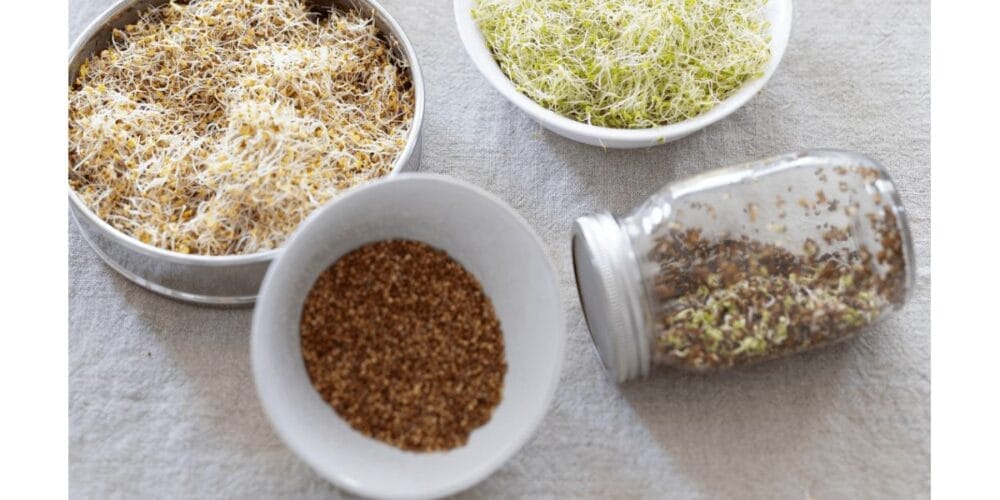
Common types of sprouts include mung bean, alfalfa, lentil, chickpea, fenugreek (methi), radish, and broccoli sprouts.


What You Need to Get Started
Before you begin, gather these simple items:
- Sprouting seeds (food-grade and untreated)
- A glass jar or bowl
- Muslin cloth or fine mesh lid
- Rubber band or jar ring
- Clean, potable water
Optional tools include sprouting trays, but a simple jar works just as well for beginners.
Also Read: Complete Guide to Using Trellises in the Kitchen Garden
Step 1: Choose the Right Seeds
Always use seeds specifically labeled for sprouting. These seeds are tested for safety and free from chemical treatments. Some beginner-friendly options include:
- Mung beans
- Lentils
- Chickpeas
- Fenugreek seeds
- Alfalfa seeds
Avoid using seeds meant for planting in gardens, as they may be treated with fungicides.
Step 2: Measure and Soak the Seeds
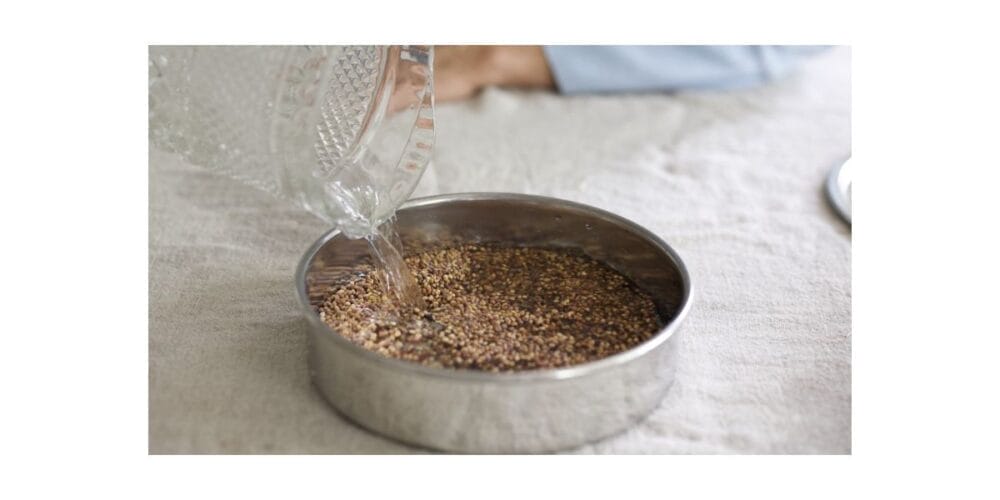
Take 1–2 tablespoons of seeds and rinse them thoroughly under clean water. Place them in a jar or bowl and add enough water to fully submerge the seeds.
Soaking time varies by seed type:
- Small seeds (alfalfa, radish): 4–6 hours
- Medium seeds (mung beans, lentils): 8–12 hours
- Large seeds (chickpeas, peas): 12–24 hours
Soaking helps activate the germination process and softens the seed coat.
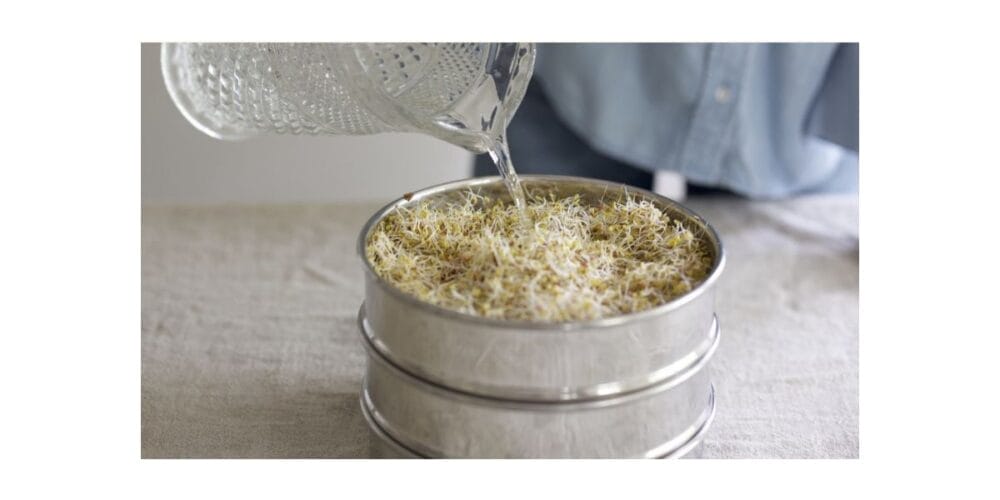
Step 3: Drain and Rinse

After soaking, drain the water completely. Cover the mouth of the jar with a muslin cloth or mesh and secure it with a rubber band. Rinse the seeds with fresh water and drain again.
Important: Seeds should remain moist but not sitting in water, as excess moisture can cause mold.
Also Read: How to Grow Zucchini from Seeds: A Complete Beginner’s Guide
Step 4: Start the Sprouting Process

Place the jar at a slight angle in a warm, dark place like a kitchen cabinet or countertop away from direct sunlight. This allows excess water to drain and air to circulate.
Rinse and drain the seeds 2–3 times a day using clean water. Within 24–48 hours, you’ll notice tiny sprouts emerging.
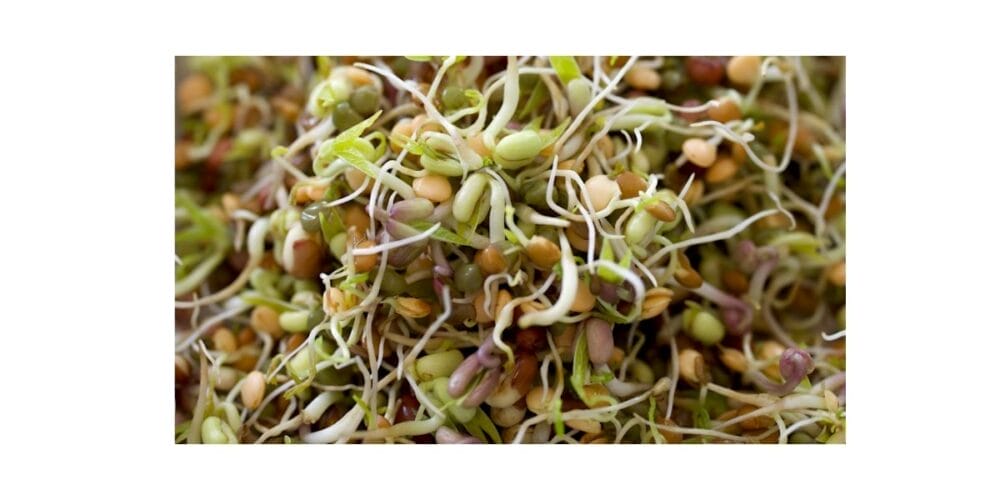
Step 5: Let the Sprouts Grow
Continue rinsing and draining daily as the sprouts grow longer. Most sprouts are ready to harvest within:
- 2–3 days for mung beans
- 3–5 days for lentils and fenugreek
- 5–7 days for alfalfa and broccoli sprouts
Once sprouts reach your desired length, move them to indirect light for a few hours to develop flavor and color (optional).
Step 6: Harvest and Clean

When sprouts are ready, give them a final rinse. Remove any seed hulls that float to the top. Drain thoroughly and let them air-dry for a short time.
Fresh sprouts should smell clean and earthy—not sour or musty.
How to Store Homegrown Sprouts
Store sprouts in an airtight container lined with a paper towel to absorb moisture. Keep them refrigerated and consume within:
- 3–4 days for most sprouts
- 2–3 days for delicate varieties like alfalfa
Always rinse before eating.
How to Use Sprouts in Your Meals
Homegrown sprouts are incredibly versatile. Add them to:
- Salads and sandwiches
- Stir-fries and curries
- Soups and stews
- Smoothies and wraps
- Breakfast bowls and omelets
Light cooking enhances safety while preserving most nutrients.
Also Read: How to Start a Pollinator Garden in 5 Easy Steps
Common Sprouting Mistakes to Avoid
- Over-soaking seeds
- Not draining excess water
- Skipping daily rinses
- Using untreated or old seeds
- Storing wet sprouts
Maintaining cleanliness is key to healthy, safe sprouts.
Final Thoughts
Growing sprouts at home is a simple, affordable, and rewarding habit that fits perfectly into a healthy lifestyle. With minimal effort and space, you can enjoy fresh, nutrient-rich food every week. Once you master the basics, experiment with different seeds and blends to suit your taste and nutritional needs.
Start small, stay consistent, and enjoy the satisfaction of growing your own superfood—right on your kitchen counter.
Also Read: About Your Step-by-Step Guide to Growing Sprouts at Home on gardenary.com Site